Easy DIY Accent Wall Ideas for a Living Room

Discover easy DIY accent wall ideas for a living room on a budget. Includes tutorials for painted arches, peel and stick wallpaper, and more!
Beyond Boring Walls: My Favorite DIY Accent Wall Ideas for a Stunning Living Room Makeover (On a Budget!)
There’s a magic to a well-designed accent wall. It can take a room from “fine” to “fabulous” in a single weekend. As a passionate advocate for intentional design in small spaces here at Neat Tiny Home, I consider the accent wall to be one of the most powerful tools in a decorator’s arsenal, especially for those of us on a budget. It’s the ultimate high-impact, low-cost design solution. A thoughtfully chosen focal point can create depth, define a zone, add a splash of personality, and make your entire living room feel more cohesive and professionally designed. The best part? You absolutely do not need to hire a professional or spend a fortune to get a stunning result.
This is your ultimate guide to the best easy DIY accent wall ideas for a living room that look a million bucks but cost very little. We’re going to explore a variety of projects, from the incredibly trendy painted arch accent wall to the renter-friendly miracle that is modern peel and stick wallpaper. Each idea is broken down with step-by-step instructions, material lists, and pro tips to ensure you get a flawless finish. Forget living with boring, builder-grade beige walls. My mission is to inspire you and give you the confidence to pick a project, roll up your sleeves, and create a feature in your living room that you will be proud to show off. Let’s get ready to make a statement.
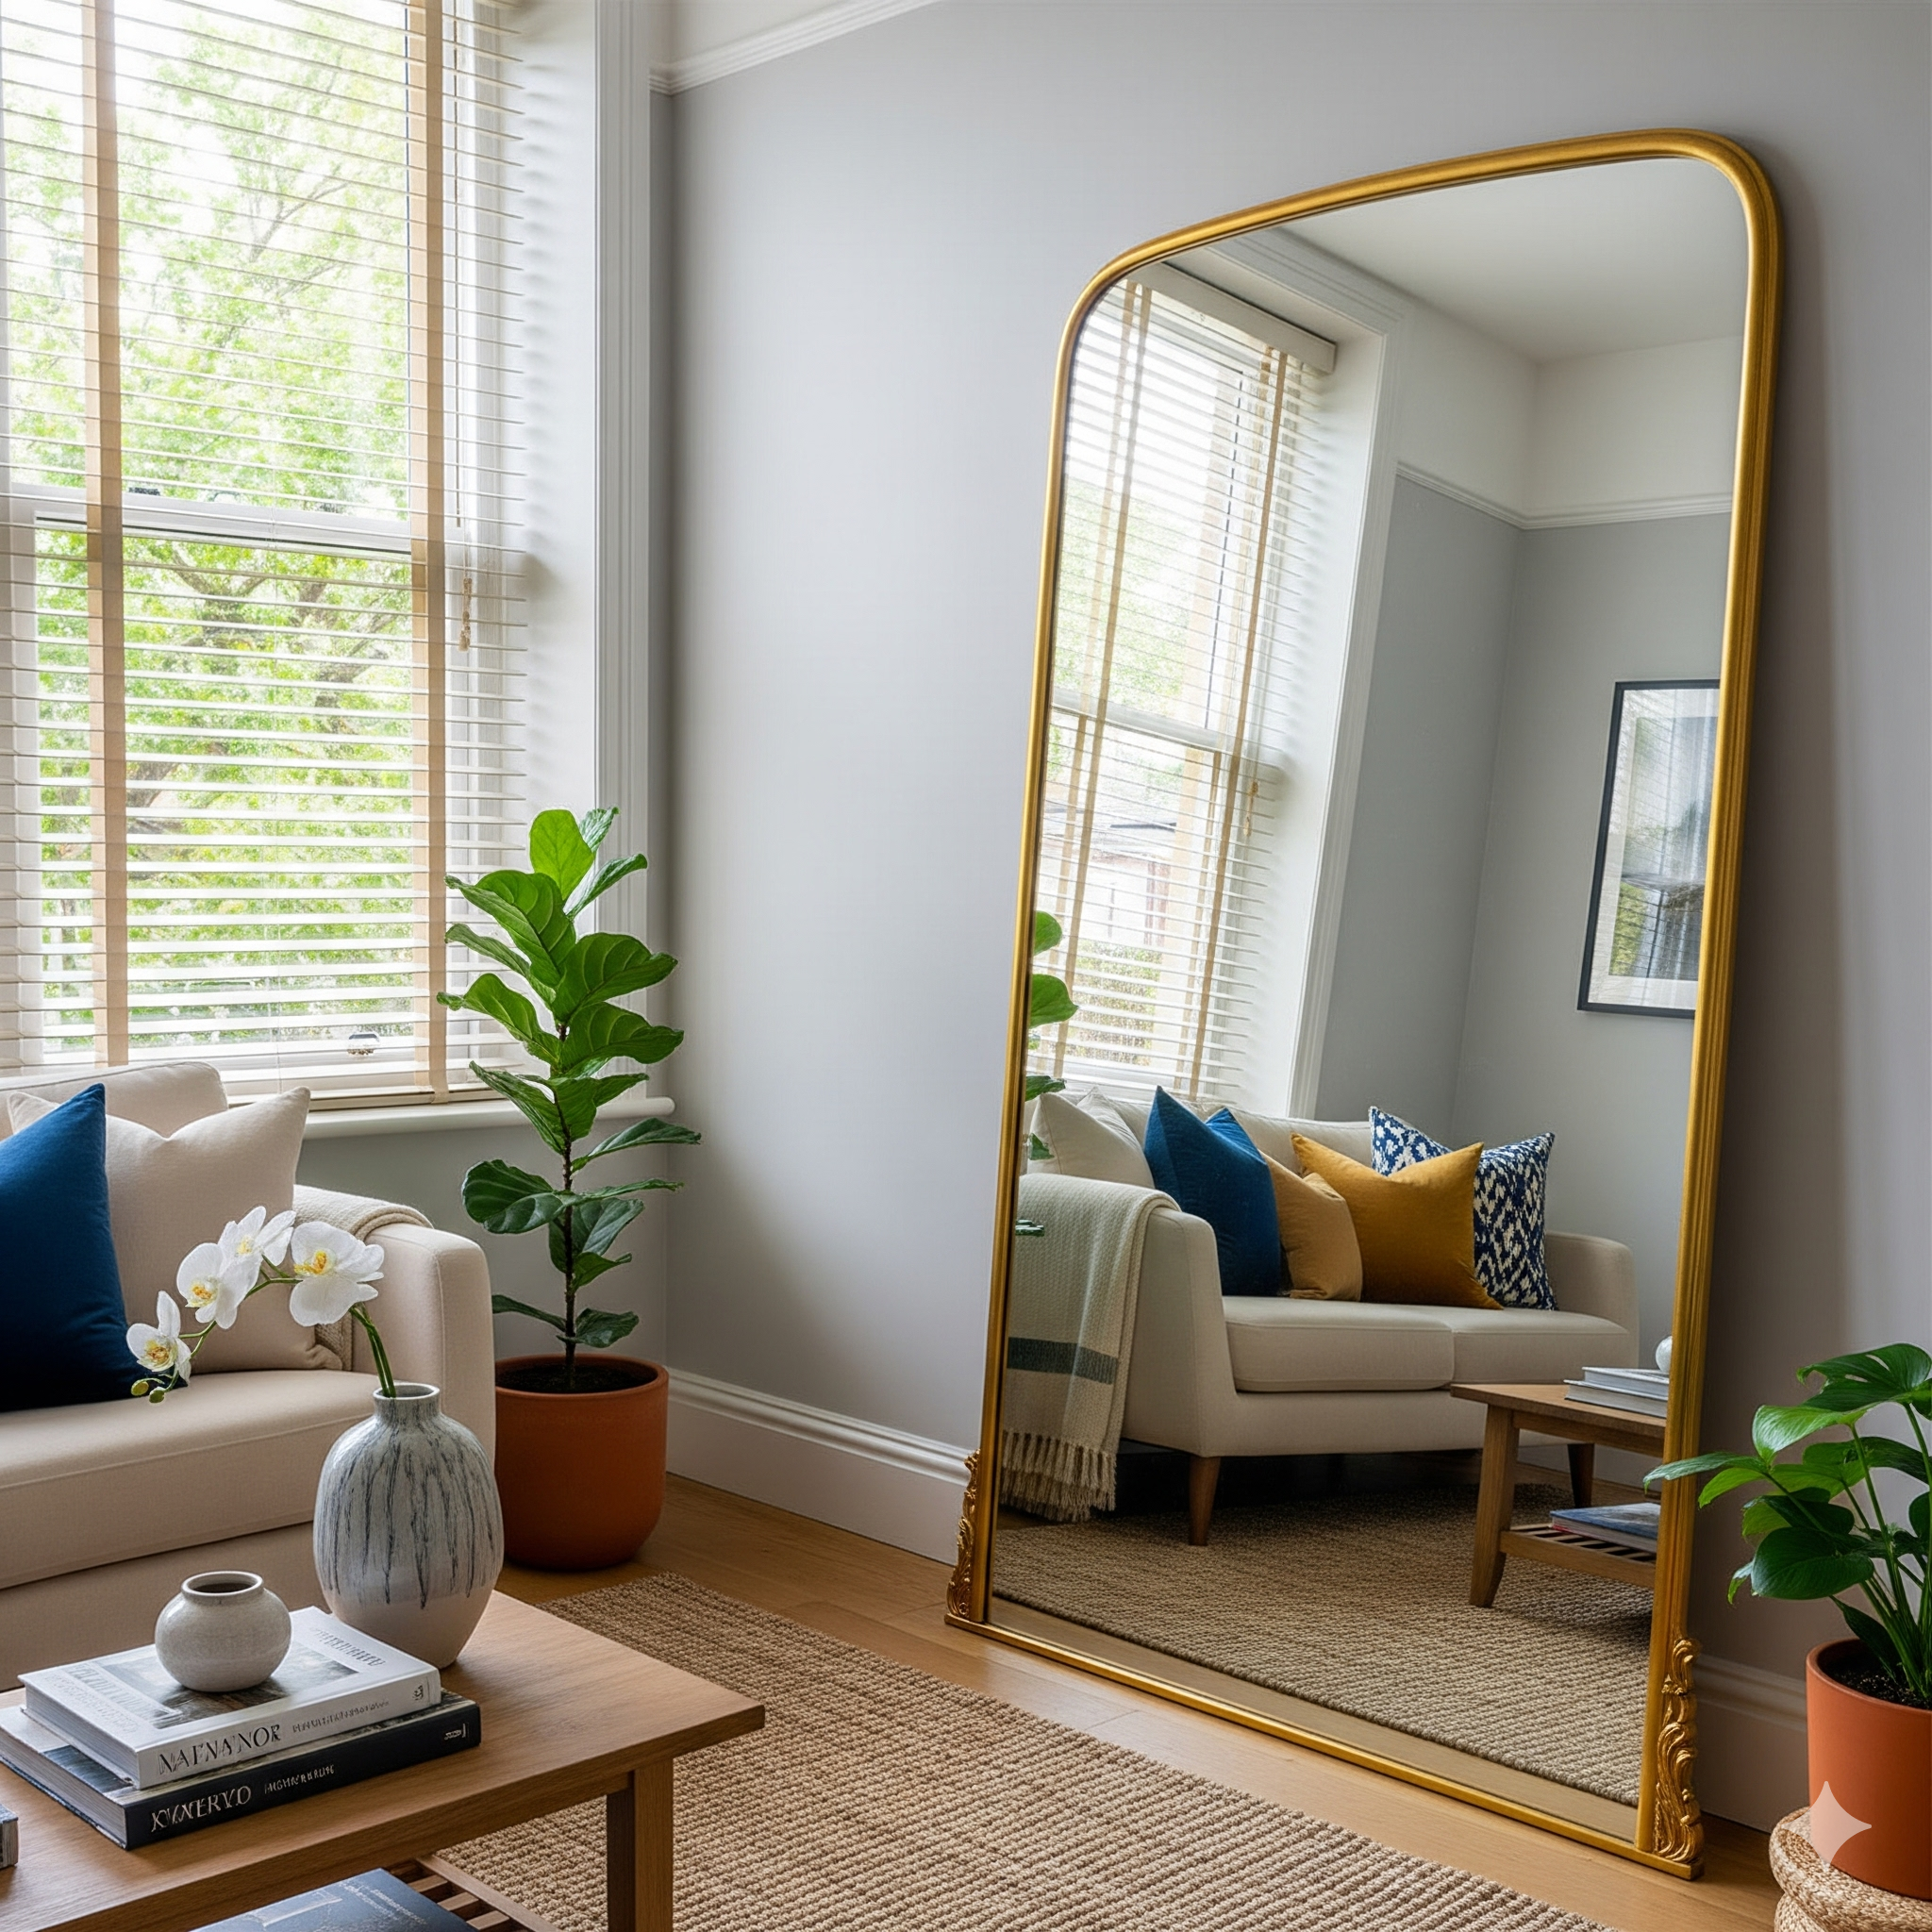
The Power of a Focal Point: Why Accent Walls are a Small-Space Savior
Before we dive into the specific projects, it’s important to understand the “why” behind an accent wall. Its purpose is to create a focal point—a single area that immediately draws the eye, giving the room a sense of purpose and direction. In a small or awkwardly shaped living room, this is incredibly valuable. A strong focal point can trick the eye into seeing the room as larger, more organized, and more intentional. It provides an anchor for your furniture arrangement and a backdrop for your most cherished art or decor. It’s a strategic design move that adds architectural interest and character where there might be none. Thinking about these principles is the first step in planning the perfect execution of your easy DIY accent wall ideas for a living room.
The Rules of Accent Walls: How to Choose the Right Wall
Not every wall is a good candidate for an accent wall. Choosing the right one is the most critical decision you’ll make. Here are my rules of thumb:
- The Natural Focal Point: Choose the wall that your eye is naturally drawn to when you first enter the room. This is often the wall behind your sofa or the wall where your media center is located.
- A Solid Wall: The best accent walls are solid, without any windows or doors to break them up. This provides a clean, uninterrupted canvas for your design.
- The “Why” Wall: Your accent wall should have a purpose. It should be highlighting something—a beautiful piece of furniture, a collection of art, or a specific zone like a reading nook. Don’t just pick a random wall.
Prepping for Success: The Universal First Step
No matter which amazing project you choose from this list, they all start the same way: with proper preparation. A flawless finish is impossible on a dirty, damaged wall. First, move all furniture away from the wall. Then, wipe the entire wall down with a damp cloth or a sponge with a bit of mild soap to remove any dust and grime. Let it dry completely. Next, fill any nail holes or cracks with spackle, let it dry, and then sand the patches smooth until they are flush with the wall. Finally, give the sanded spots a quick wipe to remove dust. This 15-minute prep routine is the secret to a professional-looking result and is an essential first step for all of these easy DIY accent wall ideas for a living room.
| Accent Wall Idea | Avg. Cost | Skill Level | Renter-Friendly? |
|---|---|---|---|
| Painted Arch | $15 – $25 | Beginner | Yes (Easy to paint over) |
| Peel & Stick Wallpaper | $30 – $100+ | Beginner | Yes (Designed to be removable) |
| Geometric Paint | $20 – $30 | Beginner | Yes (Easy to paint over) |
| Board & Batten | $50 – $150 | Intermediate | No (Requires nails and caulk) |
| Fabric “Wallpaper” | $20 – $50 | Beginner | Yes (Removable with water) |
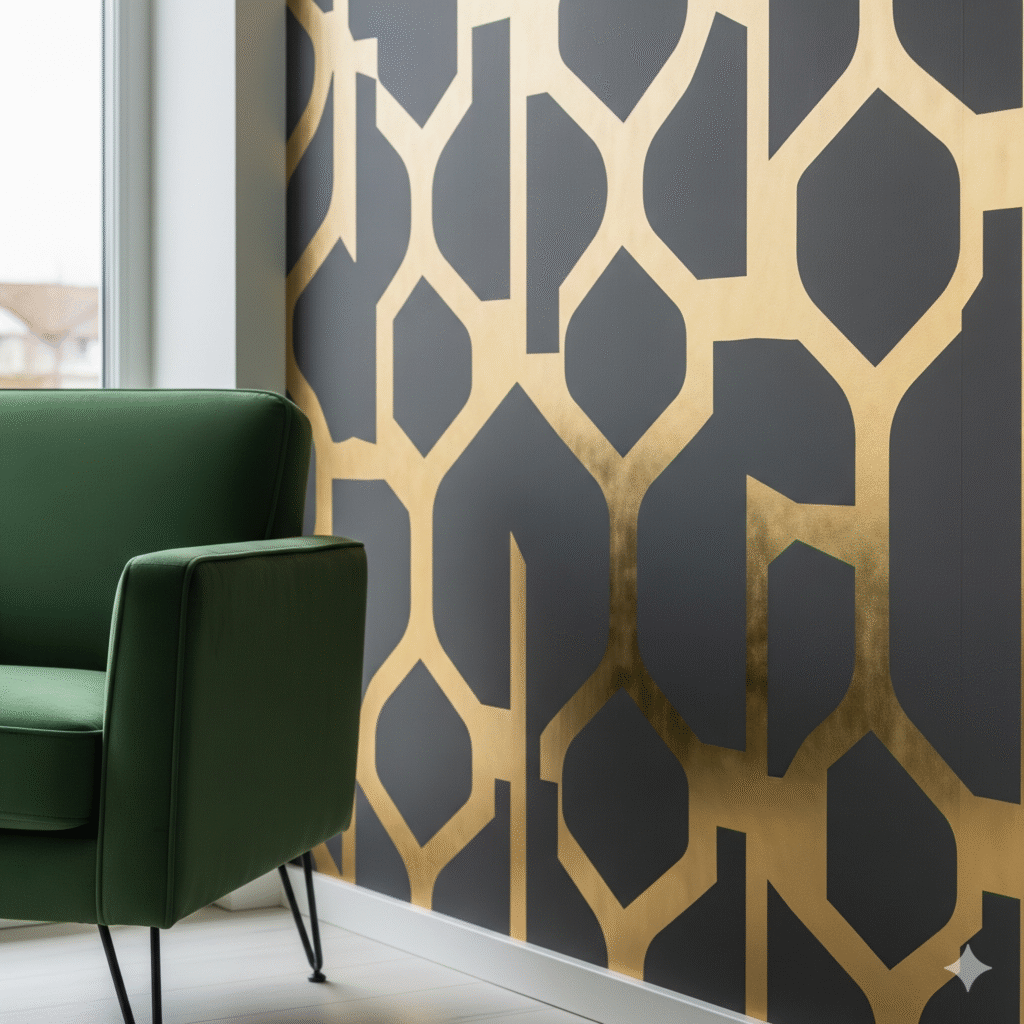
Idea 1: The Painted Arch Accent Wall (High-Impact, Low-Cost)
The painted arch accent wall has taken the design world by storm, and for good reason. It’s an incredibly chic and sophisticated way to add architectural interest and a pop of color to a room without having to paint an entire wall. It’s perfect for framing a bed, highlighting a small desk or vanity, or creating a focal point behind a console table. This project is surprisingly easy to do, requires very few materials, and the results are stunningly professional. It’s perhaps my favorite of all the easy DIY accent wall ideas for a living room right now.
Step-by-Step Tutorial:
- Determine Your Size: Decide how wide and tall you want your arch to be. The “legs” of the arch will be two vertical rectangles, and the top will be a perfect half-circle.
- The String and Pencil Trick: To draw the curved top, first, find the center point of your arch’s width. Tie a piece of string to a thumbtack and push the tack into the wall at that center point, level with where you want the arch to begin. Tie a pencil to the other end of the string, making sure the length of the string is exactly half the width of your arch. Keeping the string taut, swing the pencil around to draw a perfect semi-circle.
- Tape and Paint: Use a level to extend the straight “leg” lines down from the ends of your arch. Tape off the straight lines with painter’s tape for a crisp edge. Carefully cut in the curved edge with a small, angled brush, and then fill in the rest of the arch with a roller. Apply a second coat for a rich, even color. Peel off the tape while the paint is still slightly wet for the sharpest lines.
This simple technique, which you can see in action in many tutorials on YouTube, creates an incredibly high-end look for the cost of just a sample pot of paint.
Idea 2: The Magic of Peel and Stick Wallpaper
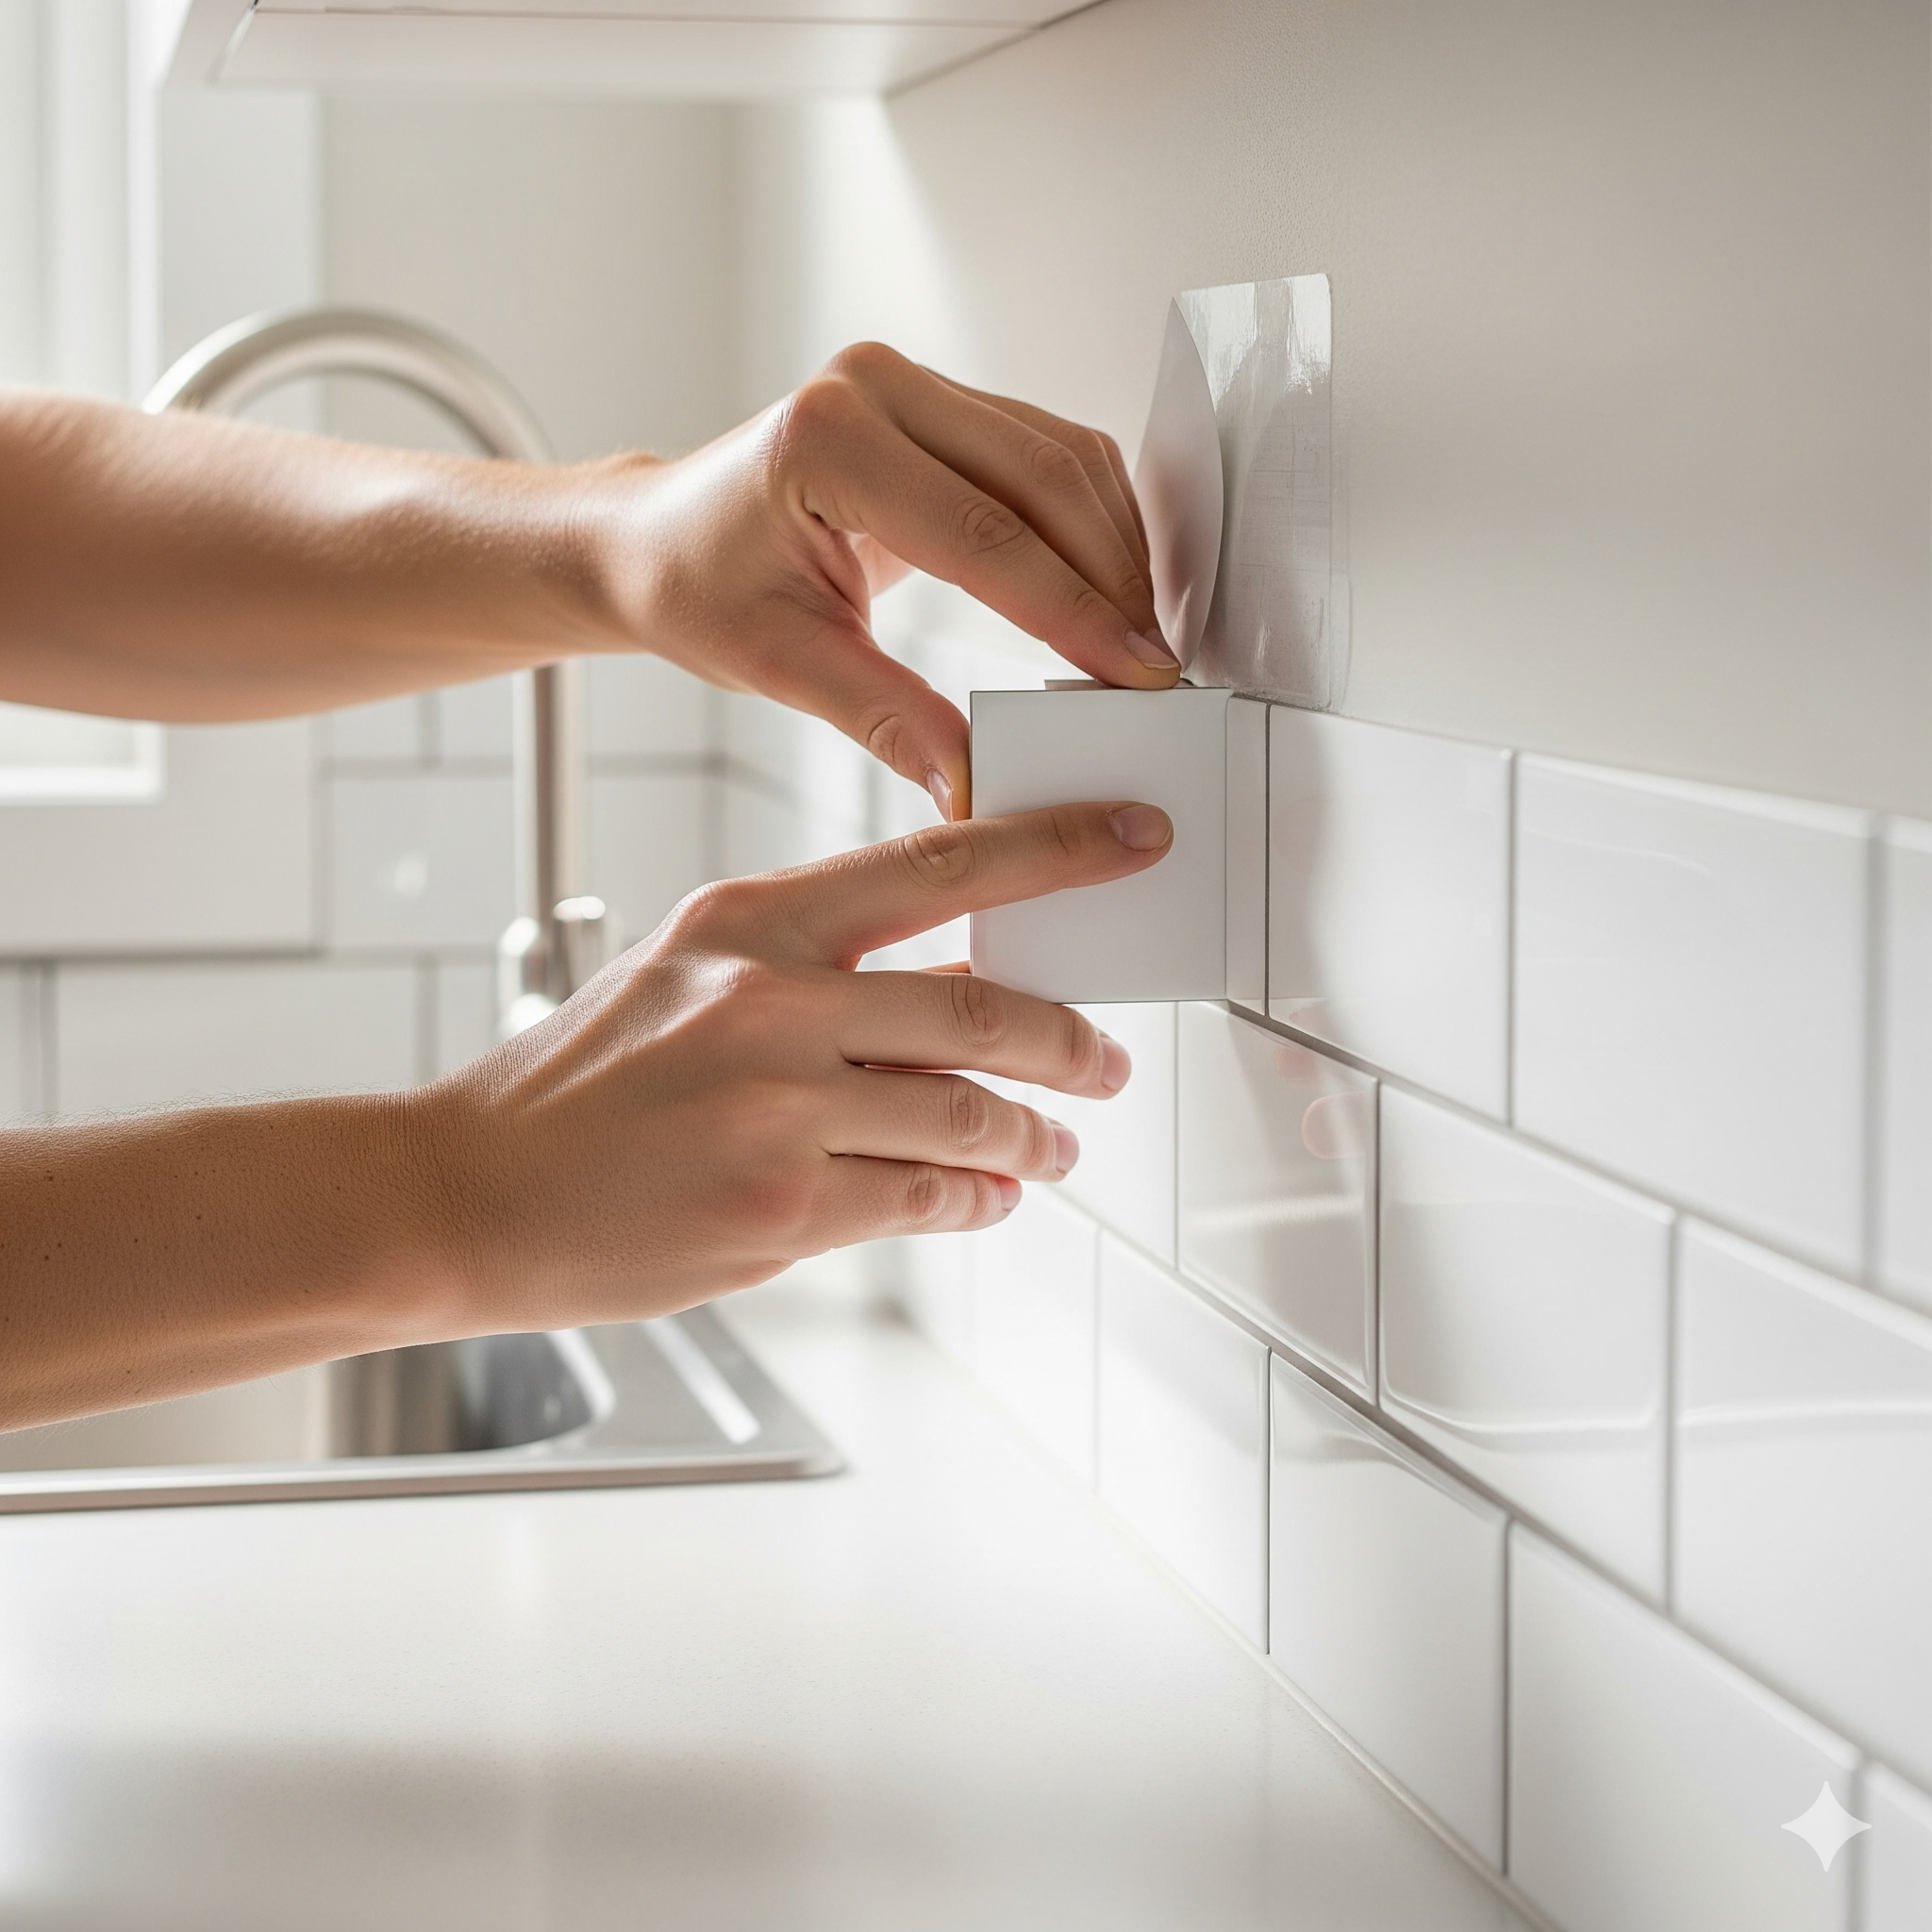
If you’ve ever been intimidated by the thought of traditional wallpaper with its messy paste and complicated booking process, then peel and stick wallpaper is about to become your new best friend. This is a revolutionary, renter-friendly product that has made wallpapering accessible to everyone. It’s essentially a large, high-quality sticker that you can apply, reposition, and remove without damaging your walls. The variety of patterns and textures available is astounding, from bold florals to subtle linens. It’s a fantastic way to add a huge dose of pattern and personality to your living room.
Step-by-Step Tutorial:
The key to a bubble-free application is patience and the right tools. You’ll need the wallpaper, a measuring tape, a sharp craft knife, and a smoothing tool (a credit card works in a pinch).
- Start with a Level Line: Never assume your ceiling is perfectly level. Measure the width of your wallpaper and use a level to draw a straight, vertical pencil line on the wall where the edge of your first panel will go. This is your guide.
- Peel and Stick, Top-Down: Peel back about 12 inches of the backing from your first panel. Align the edge of the wallpaper with your pencil line and press the top of the panel firmly to the wall, leaving a little excess at the ceiling to trim later.
- Smooth as You Go: Working from the center out to the edges, use your smoothing tool to press the wallpaper to the wall, pushing out any air bubbles as you go. Slowly continue to pull the backing off in small sections, smoothing the wallpaper as you move down the wall.
- Match the Pattern: For the second panel, carefully align the pattern with the first panel, overlapping slightly if the manufacturer recommends it. Repeat the process. Once all panels are up, use your sharp craft knife to trim the excess at the ceiling and baseboards.
There are many amazing brands out there, but for stylish and affordable options, I often recommend checking out the selections from retailers like Target or online shops like Chasing Paper.
Idea 3: Geometric Accent Walls with Paint and Tape
For a truly custom, graphic look, you can’t beat a geometric accent wall. Using just painter’s tape and a few of your favorite paint colors, you can create a one-of-a-kind mural that is as simple or as complex as you want it to be. This is one of the most creative and easy DIY accent wall ideas for a living room because it allows for infinite personalization. You can create a dramatic mountainscape, a simple color-blocked corner, or a complex web of intersecting lines. The possibilities are endless, and the only real cost is the paint and a roll of good-quality tape.
Step-by-Step Tutorial:
The secret to this project is high-quality painter’s tape, like FrogTape, which has technology to prevent paint from bleeding underneath.
- Plan Your Design: Sketch out your design on paper first. Then, use a pencil and a level or a yardstick to lightly transfer your main lines onto the wall.
- Tape It Off: Carefully apply your painter’s tape along the outside edges of the first shapes you want to paint. Press the edges of the tape down firmly with your fingernail or a credit card to create a tight seal.
- Paint and Peel: Paint inside your taped-off shapes. Apply two coats for full coverage. The crucial step is to peel the tape off while the second coat is still wet. If you wait for it to dry, you risk peeling some of the paint off with the tape. Pull the tape off slowly at a 45-degree angle for the crispest line possible.
- Repeat: Let the first shapes dry completely before taping over them to create new, overlapping shapes with different colors.
This method allows you to create a dynamic, multi-colored feature wall that looks incredibly complex but is actually just a simple, step-by-step process. For inspiration on geometric designs, a quick search on a site like Apartment Therapy will yield hundreds of beautiful examples.
Creating a beautiful home is all about injecting your own personality and creativity into the space. An accent wall is a perfect canvas for that expression. So pick an idea that excites you, put on some good music, and spend a weekend transforming a boring wall into the stunning centerpiece your living room deserves.
Frequently Asked Questions (FAQ)
My living room is very small. Will an accent wall make it feel even smaller?
Not if you choose the right wall and the right design! Avoid very dark, high-contrast patterns on the longest wall. Instead, try a monochromatic moulding accent wall (painting the moulding the same color as the wall) to add texture without closing the space in. Or, place your accent wall on the shortest wall at the end of the room. This can actually trick the eye and create a sense of depth, making the room feel longer.
How do I choose the right colors for a geometric accent wall?
A great rule of thumb is to pull colors from other items in your room, like a piece of art, a rug, or your throw pillows. This will ensure the wall feels cohesive with your existing decor. For a foolproof palette, choose three shades of the same color (a light, a medium, and a dark version) for a sophisticated, monochromatic look. Or, use an online color palette generator to find complementary colors.
Can I really apply fabric to a wall with liquid starch? Will it damage the wall?
Yes, it’s an old-school designer trick that works amazingly well! The starch acts as a temporary, gentle adhesive. When you’re ready to remove it, you simply wet the wall with a sponge and water, and the fabric peels right off. The wall will need a quick wipe-down to remove any starchy residue, but it won’t cause any damage, making it a fantastic renter-friendly option.
Post Comment