Cheap Raised Garden Bed Ideas for Vegetables
Discover cheap raised garden bed ideas for vegetables with our DIY guide. Learn to build a bed and use square foot gardening in your small backyard.
Your Guide to a Bountiful Harvest: How to Build and Plant a Raised Garden Bed in a Small Backyard
There is a deeply satisfying joy that comes from walking into your own backyard and harvesting fresh vegetables for dinner. For many people with small yards, however, that dream can feel out of reach. You might be dealing with poor, compacted clay soil, a lawn full of weeds, or a bad back that makes kneeling on the ground difficult. As someone who believes in making the most of every inch of space at Neat Tiny Home, I’m here to tell you about the single greatest solution to all of these problems: the raised garden bed. It’s a simple, contained gardening system that gives you complete control over your growing environment, and it’s the perfect way to create a hyper-productive vegetable garden, even in the smallest of yards.
This is your ultimate, A-to-Z guide to raised bed gardening. We are going to go far beyond a simple set of building plans. We’ll start by exploring the best cheap raised garden bed ideas for vegetables, focusing on a step-by-step tutorial for building a simple, affordable wooden bed. But we won’t stop there. We’ll also cover the secrets to filling your new bed with the perfect soil “lasagna,” and I’ll introduce you to the revolutionary planting method of square foot gardening, a technique designed to maximize your harvest in a small space. This guide is a key element of smart small backyard landscaping, turning an unused patch of lawn into a beautiful and productive feature. Let’s get ready to build, plant, and grow!
Why Raised Beds are the Secret to a Thriving Small Backyard Garden
Before we break out the tools, it’s important to understand why raised beds are so universally loved by beginner and expert gardeners alike. A raised bed is, quite simply, a garden bed that sits on top of your existing ground, contained by a frame. This simple elevation solves a host of common gardening problems and creates the ideal growing conditions for most vegetables. It’s a system that offers control, convenience, and greatly improved productivity, making it the perfect entry point for anyone wanting to start a vegetable garden. For those of us with less-than-ideal yard conditions, they aren’t just a nice-to-have; they’re a total game-changer.
The Benefits: Superior Drainage, Better Soil, and Fewer Weeds
The advantages of a raised bed are numerous, but they all boil down to creating a perfect, controlled environment for your plants.
- Perfect Soil, Instantly: You get to fill your bed with a perfect, fluffy blend of high-quality soil and compost, bypassing whatever poor-quality clay, sandy, or rocky soil you might have in your yard.
- Superior Drainage: The elevated nature of the bed means excess water can drain away easily, preventing waterlogged soil and root rot, which is a common problem in heavy clay soils.
- Fewer Weeds: By starting with fresh, clean soil and a physical barrier, you dramatically reduce the amount of weed pressure. And any weeds that do pop up are much easier to pull from the loose soil.
- Warmer Soil Earlier: The soil in a raised bed warms up faster in the spring, allowing you to plant earlier and extend your growing season.
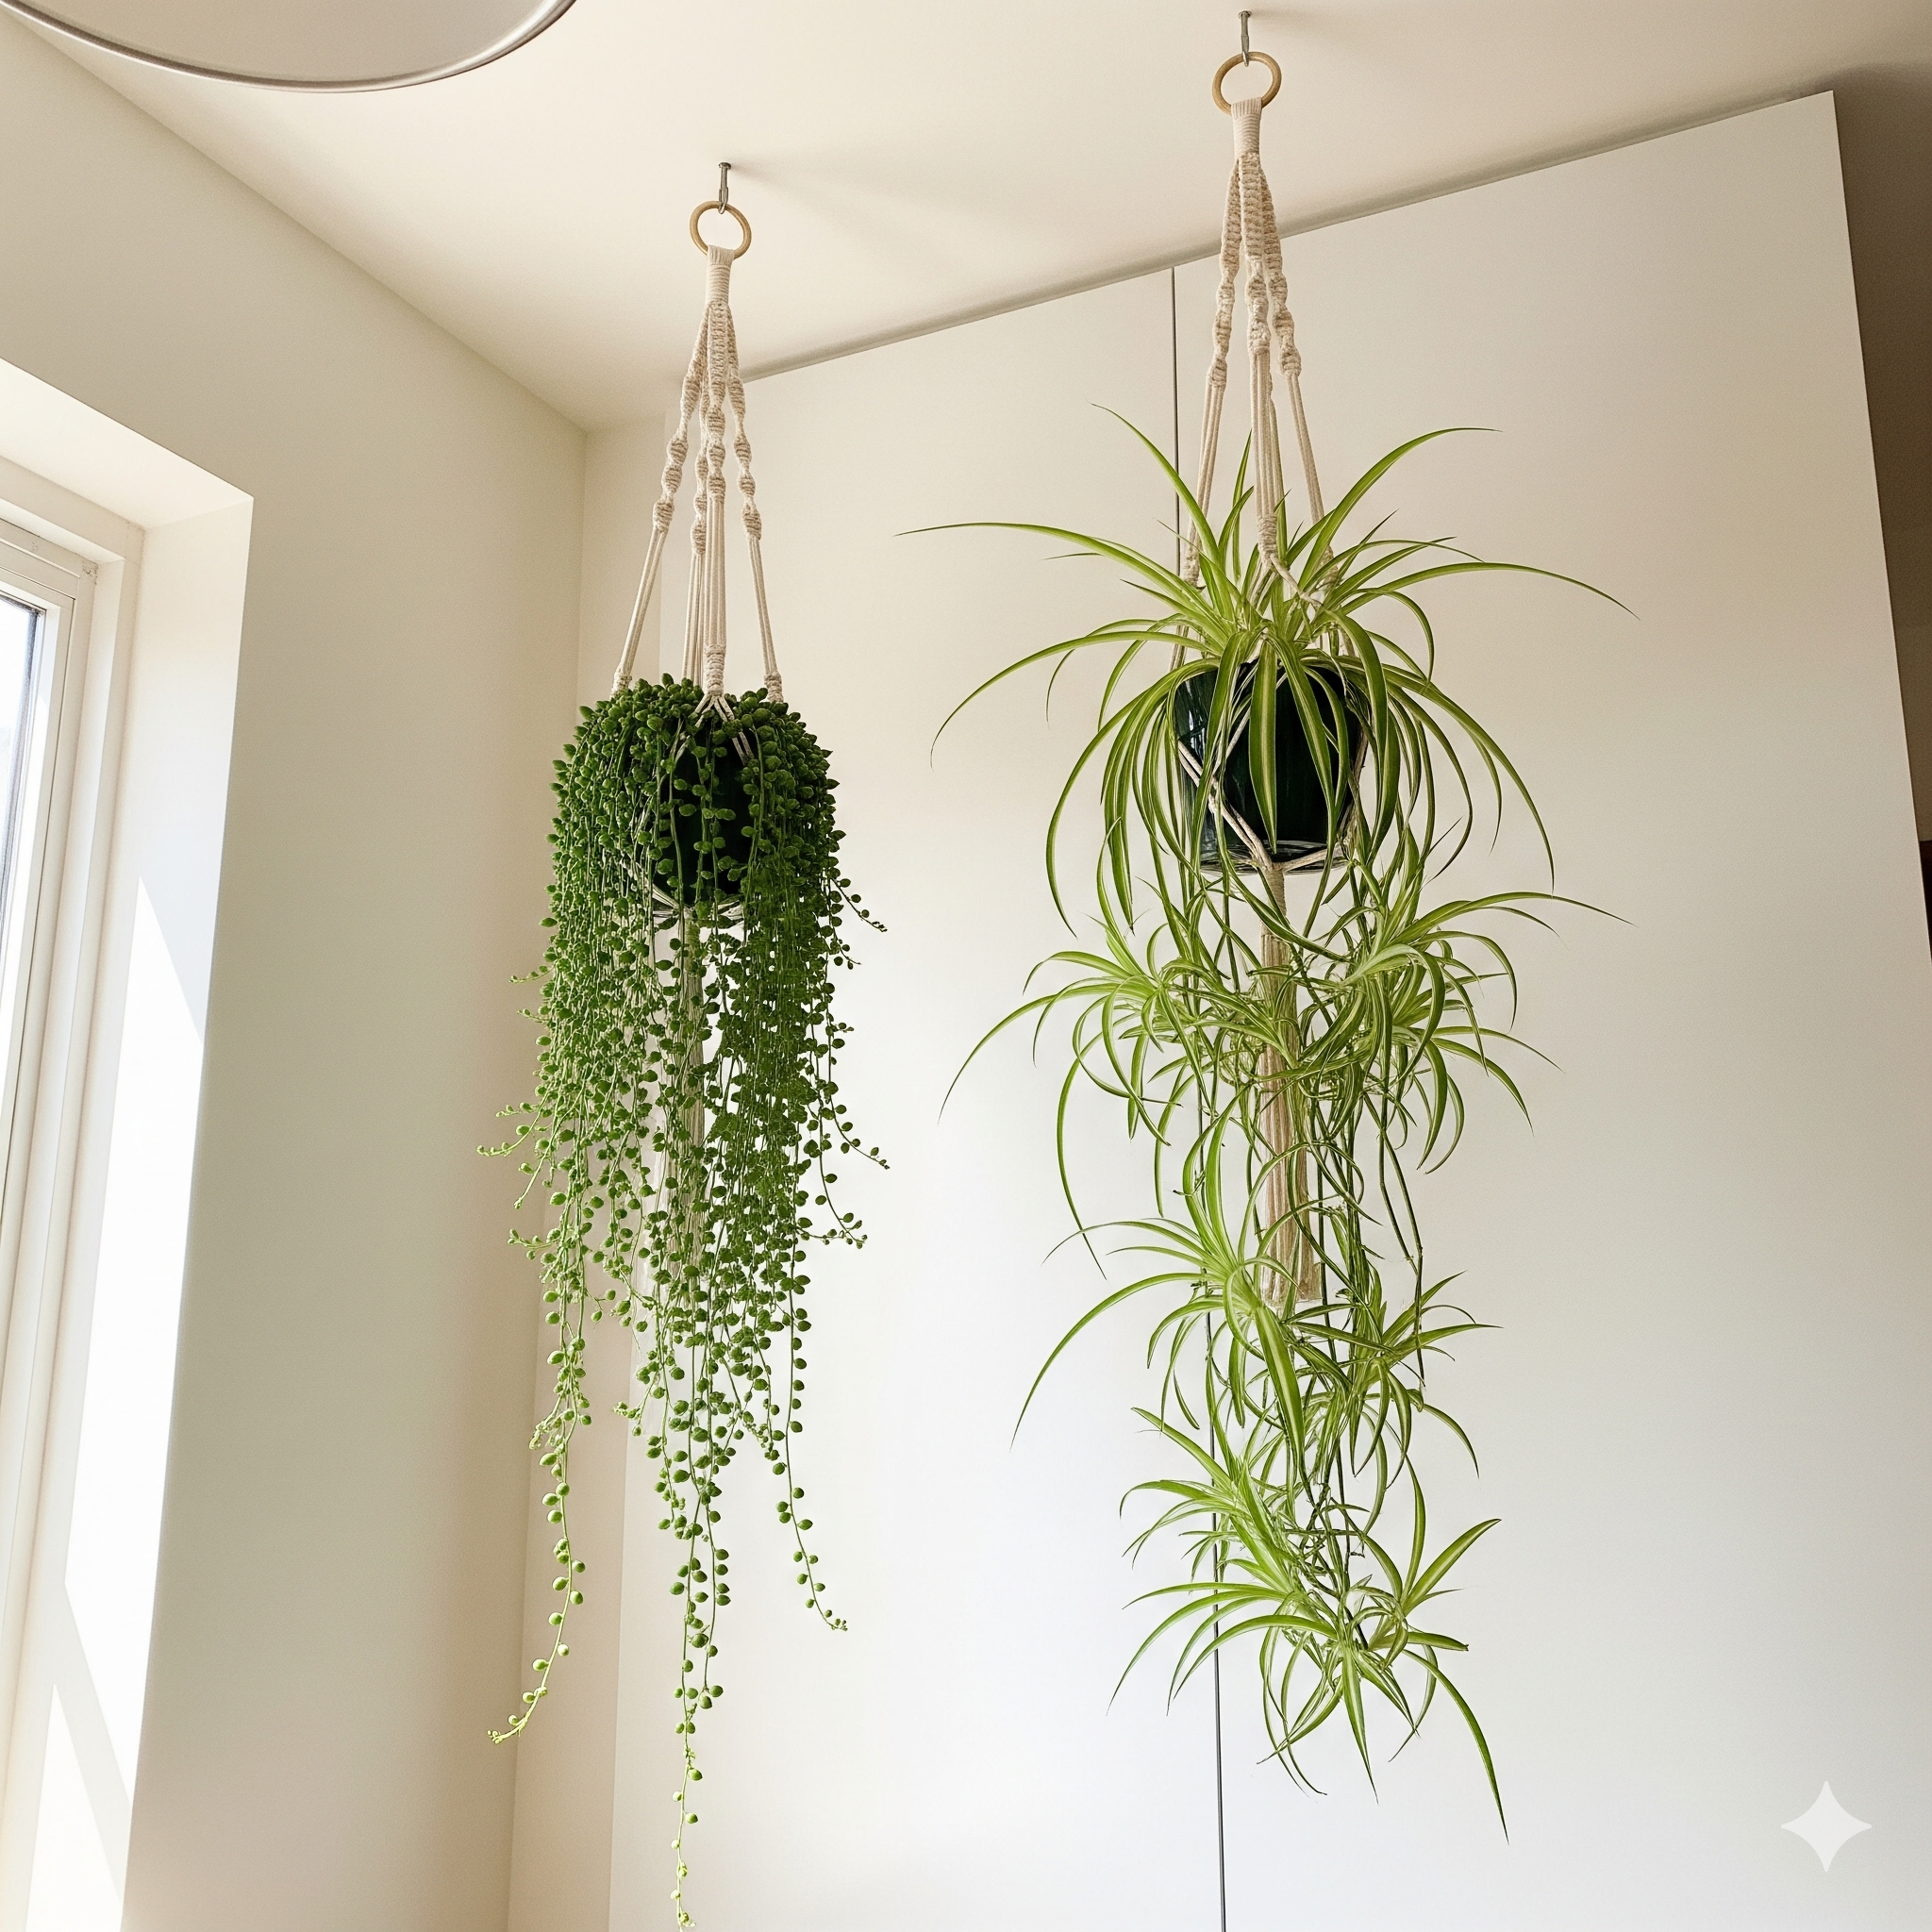
An Ergonomic Solution: Less Bending, More Gardening
For many people, the physical strain of traditional gardening is a huge barrier. Kneeling, bending, and digging in compacted soil can be hard on the back and knees. A raised bed, especially one that is 12 to 18 inches high, brings the garden up to you. All the tasks—planting, weeding, and harvesting—can be done while sitting on the edge of the bed or with minimal bending. This makes gardening more accessible and enjoyable for people of all ages and physical abilities. It’s a simple change that can keep you gardening comfortably for years to come.
Planning Your Perfect Raised Bed: Size, Location, and Materials
A little bit of planning goes a long way. Before you buy a single board, take some time to think through the ideal location, size, and material for your raised bed. These initial decisions will impact the success of your garden for the entire season. A well-placed, well-sized bed will be a joy to work in, while a poorly placed one can be a source of constant frustration. This is a key step in incorporating your garden into your overall small backyard landscaping plan.
| Bed Material | Approx. Cost | Lifespan | Best For |
|---|---|---|---|
| Untreated Wood (Pine/Fir) | Low | 3-5 Years | The most affordable and easiest DIY option. |
| Cedar/Redwood | Medium-High | 10-20 Years | A beautiful, naturally rot-resistant, long-term investment. |
| Cinder Blocks | Low-Medium | Lifetime | A durable, modular, no-build option. |
| Galvanized Metal | Medium-High | 20+ Years | A modern, stylish, and extremely durable choice. |
The Ideal Dimensions: Why 4 Feet Wide is the Magic Number
The most important dimension of your raised bed is its width. The golden rule is to make your bed no wider than 4 feet. Why? This allows you to comfortably reach the center of the bed from either side without ever having to step on and compact the soil. The length can be whatever you want—4×4, 4×8, or 4×12 feet are all common sizes. The depth of the bed should be at least 10-12 inches. This provides enough soil volume for the roots of most annual vegetables to thrive. Deeper is always better if your budget allows, but 12 inches is a fantastic starting point.
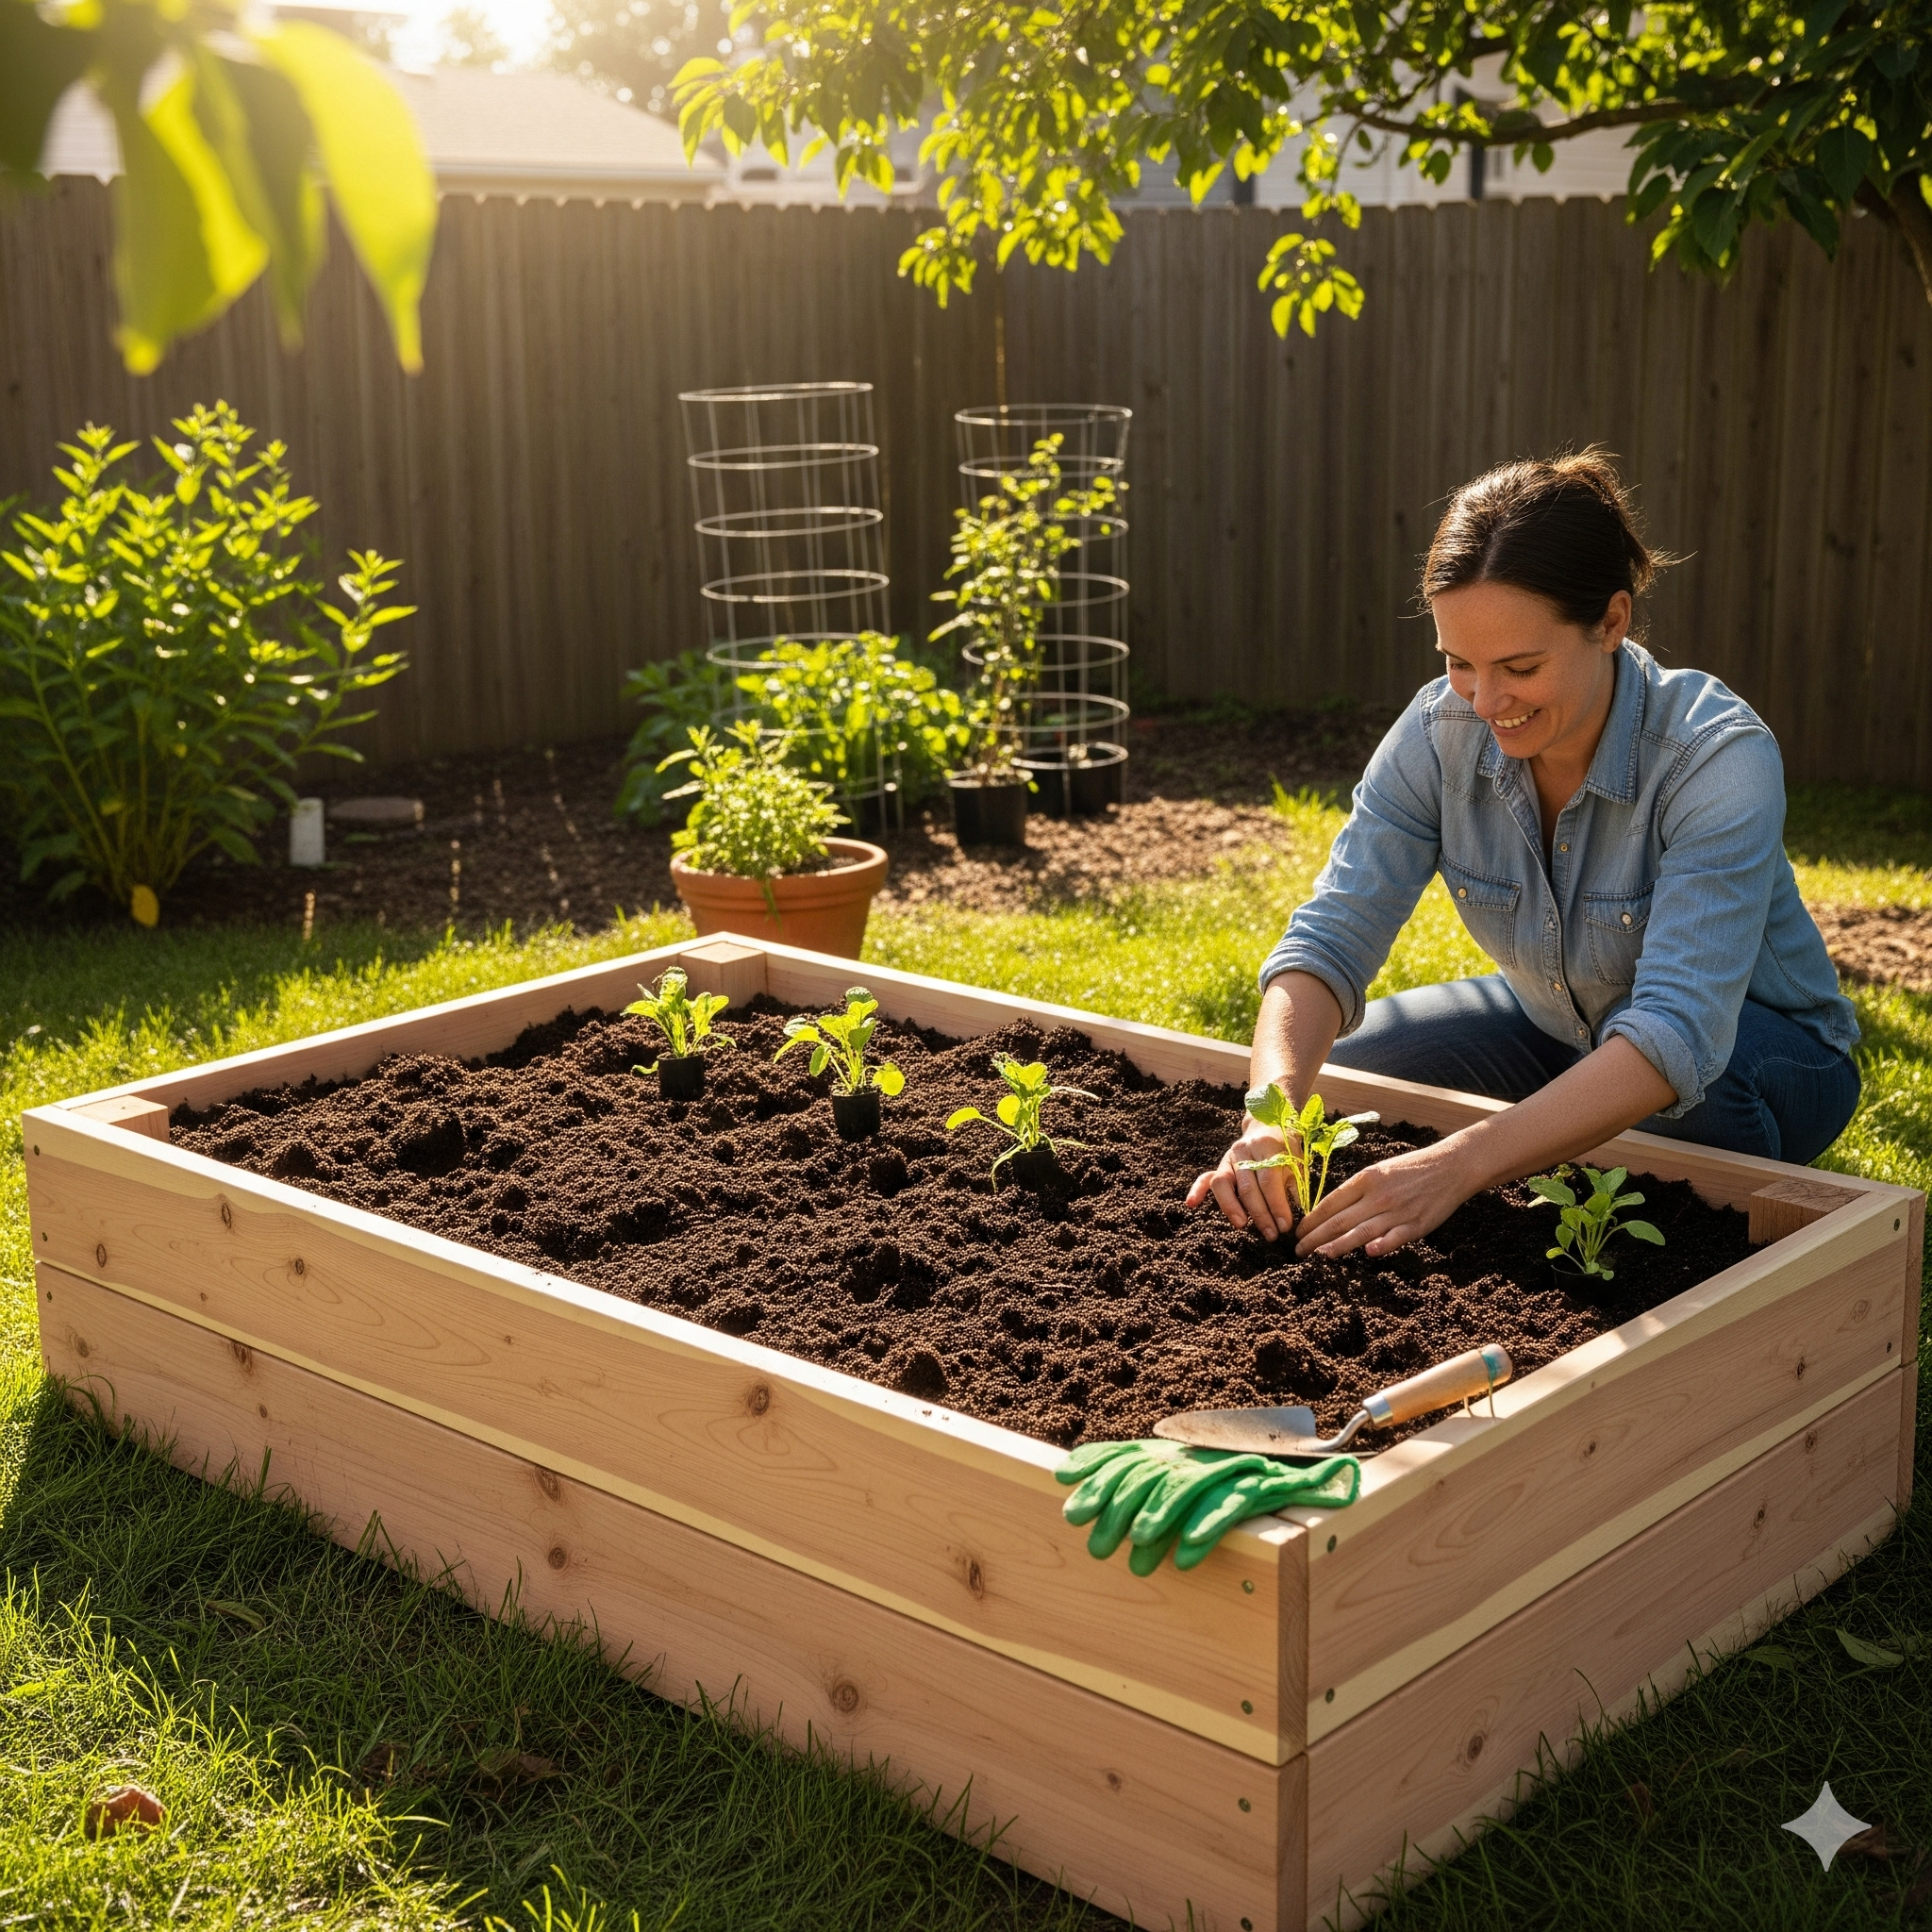
The Main Event: A Step-by-Step Guide to Building a Simple, Cheap Wooden Raised Bed
This is the classic, go-to design for a reason. It’s simple, affordable, and can be built in an hour or two with basic tools. This project is the epitome of cheap raised garden bed ideas for vegetables. We will build a 4×8 foot bed that is 11 inches deep using untreated lumber.
Part 1: Gathering Your Tools and Materials
- Lumber: You will need six 8-foot-long, 2×6 inch untreated wooden boards. It is CRITICAL to use untreated wood (like standard pine or fir) to avoid chemicals leaching into your soil.
- Fasteners: You’ll need a box of 3-inch exterior-grade deck screws.
- Tools: A drill with a Phillips head bit, a measuring tape, and a pencil. A speed square is also very helpful for ensuring your corners are perfect.
Part 2: Making Your Cuts
The beauty of this design is its simplicity. You only need to make two cuts! Take two of your 8-foot boards and cut them exactly in half. This will give you four 4-foot boards for the short sides of your bed. The other four 8-foot boards will remain untouched. A great tip for beginners: most home improvement stores like The Home Depot have a cutting station and will make these simple cuts for you for free or for a very small fee.
Part 3: Assembling the Frame
- Build Your First Layer: On a flat surface, arrange two of the 8-foot boards and two of the 4-foot boards into a rectangle. The 4-foot boards should be on the inside, butting up against the ends of the 8-foot boards.
- Secure the Corners: Use your drill to drive three 3-inch deck screws through the end of the 8-foot board and into the end grain of the 4-foot board. Repeat this for all four corners. Your first 5.5-inch high frame is now complete!
- Add the Second Layer: Simply build an identical frame and place it directly on top of the first one. To secure the two layers together, you can use metal corner brackets on the inside corners or simply add a vertical 2×4 “stake” in each corner, screwing both layers to it.
For a fantastic visual guide to this exact type of build, I highly recommend the tutorials on a site like The Family Handyman.
Filling Your Bed: Creating the Perfect Soil “Lasagna”
You’ve built your beautiful bed! Now, what do you fill it with? Do not just fill it with bags of topsoil or soil from your yard. The secret to a wildly productive raised bed is creating a rich, loose, and well-draining soil blend. You can use an online soil calculator to figure out the total volume you need.
The Perfect Soil Recipe: My Go-To Mix
The most famous and effective raised bed soil recipe comes from Mel Bartholomew, the creator of the square foot gardening method. It’s known as “Mel’s Mix,” and it is a simple, three-part blend that creates the perfect growing medium.
- 1/3 Coarse Vermiculite: This lightweight mineral helps with water retention and aeration.
- 1/3 Peat Moss or Coconut Coir: This provides structure and also helps hold onto moisture.
- 1/3 Blended Compost: This is the “food” for your plants. The key here is variety. Try to get compost from as many different sources as possible (e.g., mushroom compost, cow manure compost, your own backyard compost) to provide a broad spectrum of nutrients.
Planting Your Bed: The Magic of Square Foot Gardening
Now that your bed is built and filled, it’s time for the most exciting part: planting! To get the absolute most out of your small space, I am a huge advocate for the square foot gardening method. It’s a system of intensive planting that is incredibly productive and easy to manage.
What is Square Foot Gardening?
Developed by Mel Bartholomew, this method involves dividing your raised bed into a grid of 1×1 foot squares. You can make this grid out of string, wooden laths, or even just by marking lines in the soil. Each square is then planted with a specific number of plants, depending on their size. For example, a single square foot can hold:
- 1 tomato or pepper plant
- 4 lettuce plants
- 9 bush bean plants
- 16 radishes or carrots
Building a raised bed is one of the most empowering projects a new gardener can undertake. It gives you a beautiful, contained, and hyper-productive space to grow your own food, transforming your small backyard into a personal produce aisle.
Frequently Asked Questions (FAQ)
Should I put cardboard at the bottom of my raised bed before I fill it?
Yes, I highly recommend it! Putting a layer of plain, uncoated cardboard down on the grass or soil before you place your bed and fill it has two major benefits. First, it acts as a fantastic, biodegradable weed barrier, smothering the grass and weeds underneath. Second, it attracts earthworms, who will come up to feed on the decomposing cardboard, helping to aerate and enrich your soil from below. It’s a win-win!
What kind of wood should I avoid for a vegetable garden bed?
You should absolutely avoid any wood that has been pressure-treated prior to 2003, as it was treated with Chromated Copper Arsenate (CCA), which is toxic. Modern pressure-treated wood uses less toxic chemicals, but I still prefer to err on the side of caution for an organic vegetable garden and use untreated wood. Also, avoid using old railroad ties, as they are treated with creosote, a toxic preservative.
My raised bed soil seems to sink every year. Is that normal?
Yes, it’s completely normal! The organic matter in your beautiful compost-rich soil blend will decompose and be used up by your plants over the course of the season. This is a sign of a healthy, living soil. Each spring, you will need to “top up” your bed by adding a few inches of fresh compost. This replenishes the nutrients and brings the soil level back up for the new planting season.

Post Comment