Vegetables You Can Regrow in Water on Your Windowsill

Discover the best vegetables you can regrow in water on your windowsill. A beginner’s guide to a sustainable kitchen and growing from scraps.
The No-Waste Kitchen: How to Regrow Vegetables from Scraps on Your Windowsill
There is a quiet, profound magic that happens on a sunny windowsill. It’s the magic of regeneration, of turning something you would have thrown away into fresh, delicious food. As someone who is constantly exploring new ways to live more sustainably and make the most of small spaces at Neat Tiny Home, the practice of regrowing vegetables from kitchen scraps is one of my absolute favorite life hacks. It’s a project that sits at the perfect intersection of zero-waste living, frugal habits, and the simple joy of gardening. It requires no special equipment, no big backyard, and almost no money. It’s a living science experiment that unfolds right in your kitchen, connecting you to your food in a whole new way.
This is your ultimate guide to the wonderful world of kitchen scrap gardening. We’re going to focus on the easiest and most rewarding method: the amazing variety of vegetables you can regrow in water on your windowsill. I’ll walk you through the process for the most popular and foolproof scraps, including a deep dive into the classic project of growing green onions from scraps. We’ll also explore some scraps that prefer to be planted in soil. This is more than just a novelty trick; it’s a foundational practice for creating a truly sustainable kitchen. My goal is to show you just how easy it is to get started, so you can enjoy the thrill of harvesting your own homegrown produce, even if it’s just a few green onions for your soup.
The Magic of Kitchen Scrap Gardening: Turning “Waste” into a Bountiful Harvest
Before we start saving our vegetable butts, let’s talk about the incredible benefits of this simple practice. On the surface, it’s a way to get a little bit of “free” food, which is a fantastic reward in itself. But the true value goes much deeper. It’s an act of resourcefulness that shifts your mindset. You begin to see your kitchen “waste” not as trash, but as a resource brimming with potential. This is the very essence of a sustainable kitchen. Every green onion you regrow is one less you have to buy, saving you money and reducing the carbon footprint associated with transporting produce to the grocery store. It’s a small act of self-sufficiency that feels incredibly empowering.
It’s Not a Free Lunch, But It’s Close: Managing Expectations
It’s important to have realistic expectations. Are you going to grow enough food to feed your family for a year from kitchen scraps? No. Regrowing a vegetable from its base is a form of vegetative propagation. You are essentially cloning the parent plant. A regrown celery base will produce lovely, flavorful leaves and thin stalks for cooking, but it will not grow a giant, dense head of celery like the one you bought from the store. A carrot top will grow beautiful, feathery carrot greens (which are delicious in pesto!), but it will not grow a new carrot root. Think of this as a way to get a bonus harvest of fresh greens, herbs, and sprouts—an amazing, delicious supplement to your regular groceries.
A Living Science Experiment: The Perfect Project for Kids and Curious Adults
One of the most joyful aspects of regrowing scraps is watching the process unfold. It happens surprisingly fast! The root end of a green onion can show new growth in as little as 24 hours. This makes it a perfect, high-reward science experiment for children and a fascinating process for curious adults. It’s a tangible, visible lesson in plant biology and resilience. It teaches us where our food comes from and the incredible life force contained within a simple vegetable. It’s a wonderful way to bring a bit of nature and wonder into your kitchen, especially during the long winter months.
Getting Started: The Basic Toolkit for Your Windowsill Nursery
The beauty of this project is its simplicity. You don’t need a lot of fancy equipment. In fact, you probably already have everything you need in your kitchen right now. Your main goal is to provide your vegetable scraps with three things: support, water, and light.
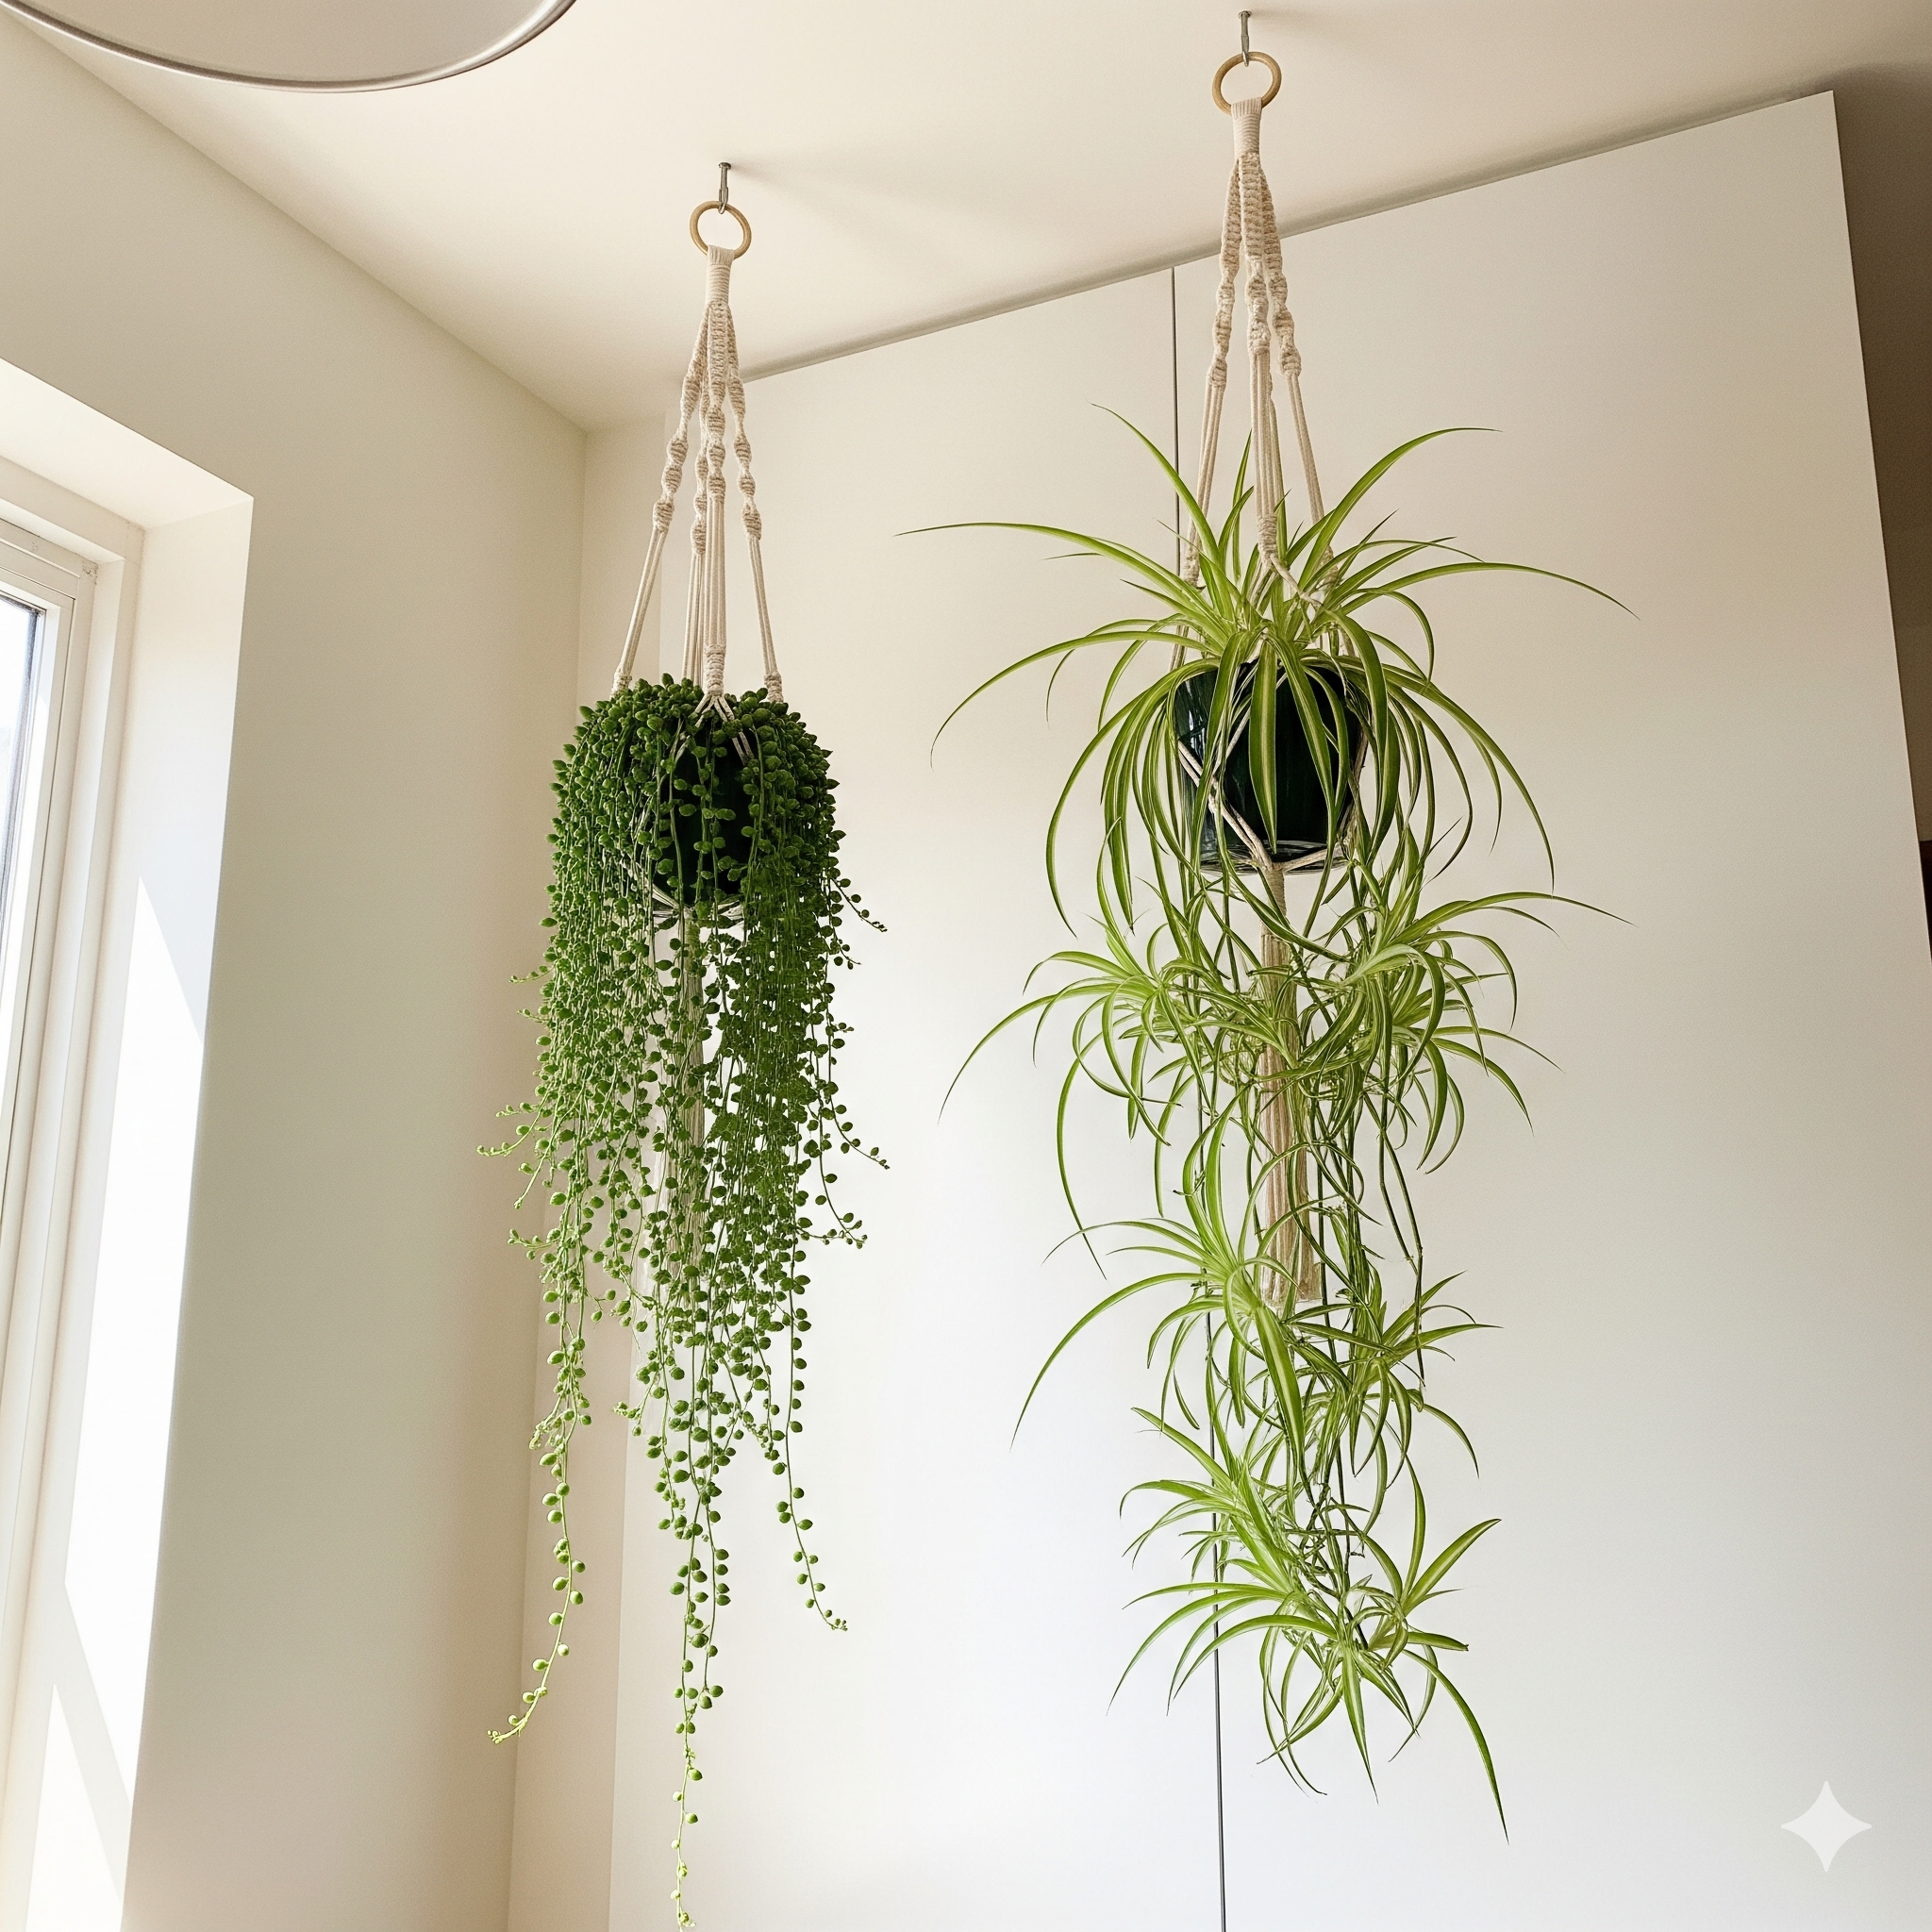
- Containers: Small glass jars (like baby food or spice jars), shallow dishes, bowls, and drinking glasses are all perfect. Clear containers are especially fun as they allow you to watch the new roots grow.
- Support: For round vegetable bases like onions or avocado pits, toothpicks are the classic tool for suspending them partially in water.
- Water: Simple, clean tap water is all you need. The most important rule is to change it every day or two to keep it fresh and prevent bacterial growth.
- Light: A sunny windowsill is the ideal location. Most of these plants will be happy with at least 4-6 hours of bright, indirect light per day.
| Vegetable Scrap | Method | Time to Harvest | What You’ll Harvest |
|---|---|---|---|
| Green Onions | Water | 5-7 Days | Fresh green shoots. |
| Romaine Lettuce / Celery | Water, then optional soil | 10-14 Days | Tender inner leaves and stalks. |
| Garlic Clove | Soil | 14-21 Days | Garlic greens (like chives). |
| Sweet Potato | Water, then soil | Weeks to Months | Vining “slips” to plant for new potatoes. |
The Easiest Vegetables You Can Regrow in Water on Your Windowsill
This is the best place to start your journey. These are the plants that give you the quickest, most visible results with the least amount of effort. Watching these scraps spring back to life is a truly magical experience and a huge confidence booster. This list is the core of our guide to the best vegetables you can regrow in water on your windowsill.
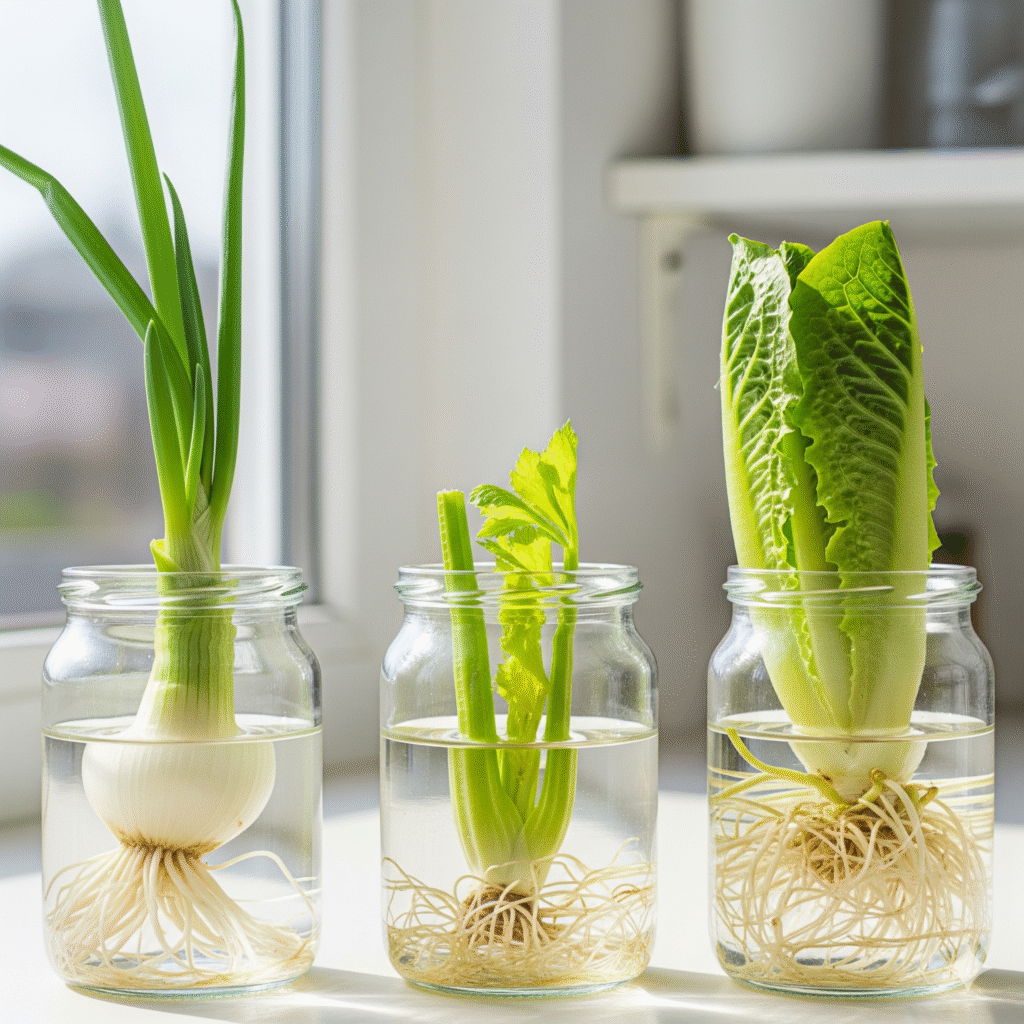
The Absolute Easiest: Growing Green Onions from Scraps
If you try only one project from this list, make it this one. The process of growing green onions from scraps is so fast and foolproof, it feels like a magic trick. You can get a continuous harvest of fresh green onions for months from a single bunch you bought at the store.
- The Scrap: The next time you use green onions, don’t throw away the white root ends. Cut the onions about an inch or two from the bottom, leaving the little white bulb and the stringy roots intact.
- The Setup: Place these root ends in a small glass or jar. Add just enough water to cover the white bulb part, but leave the very top of the cuttings exposed to the air.
- The Growth: Place the jar on a sunny windowsill. Within a single day, you will see new green growth emerging from the center. It’s astonishingly fast!
- Maintenance and Harvest: Change the water every day or two to keep it fresh. In about a week, you’ll have a new set of harvestable green onions. You can simply snip off what you need with a pair of scissors, leaving the white bases in the water, and they will continue to regrow several times.
The Leafy Wonders: Romaine Lettuce, Celery, and Bok Choy
These vegetables all work in the same way as green onions, though they are a bit slower.
- The Scrap: For romaine, celery, or bok choy, cut off the base of the head—the part you would normally throw away. You want a solid base about 2-3 inches tall.
- The Setup: Place the base cut-side-up in a shallow bowl or dish. Add about a half-inch of water, so that the bottom of the base is submerged but the top is dry.
- The Growth: Place it on a sunny windowsill and change the water every day. Within a week, you will see tiny new leaves sprouting from the center of the base, and small roots will begin to emerge from the bottom.
- The Next Step: You can continue to grow these in water and harvest the small, tender inner leaves for salads or soups. For a more robust plant, once you have a good amount of new leaf growth and some healthy roots, you can transfer the base to a pot of soil. This is one of the most popular vegetables you can regrow in water on your windowsill.
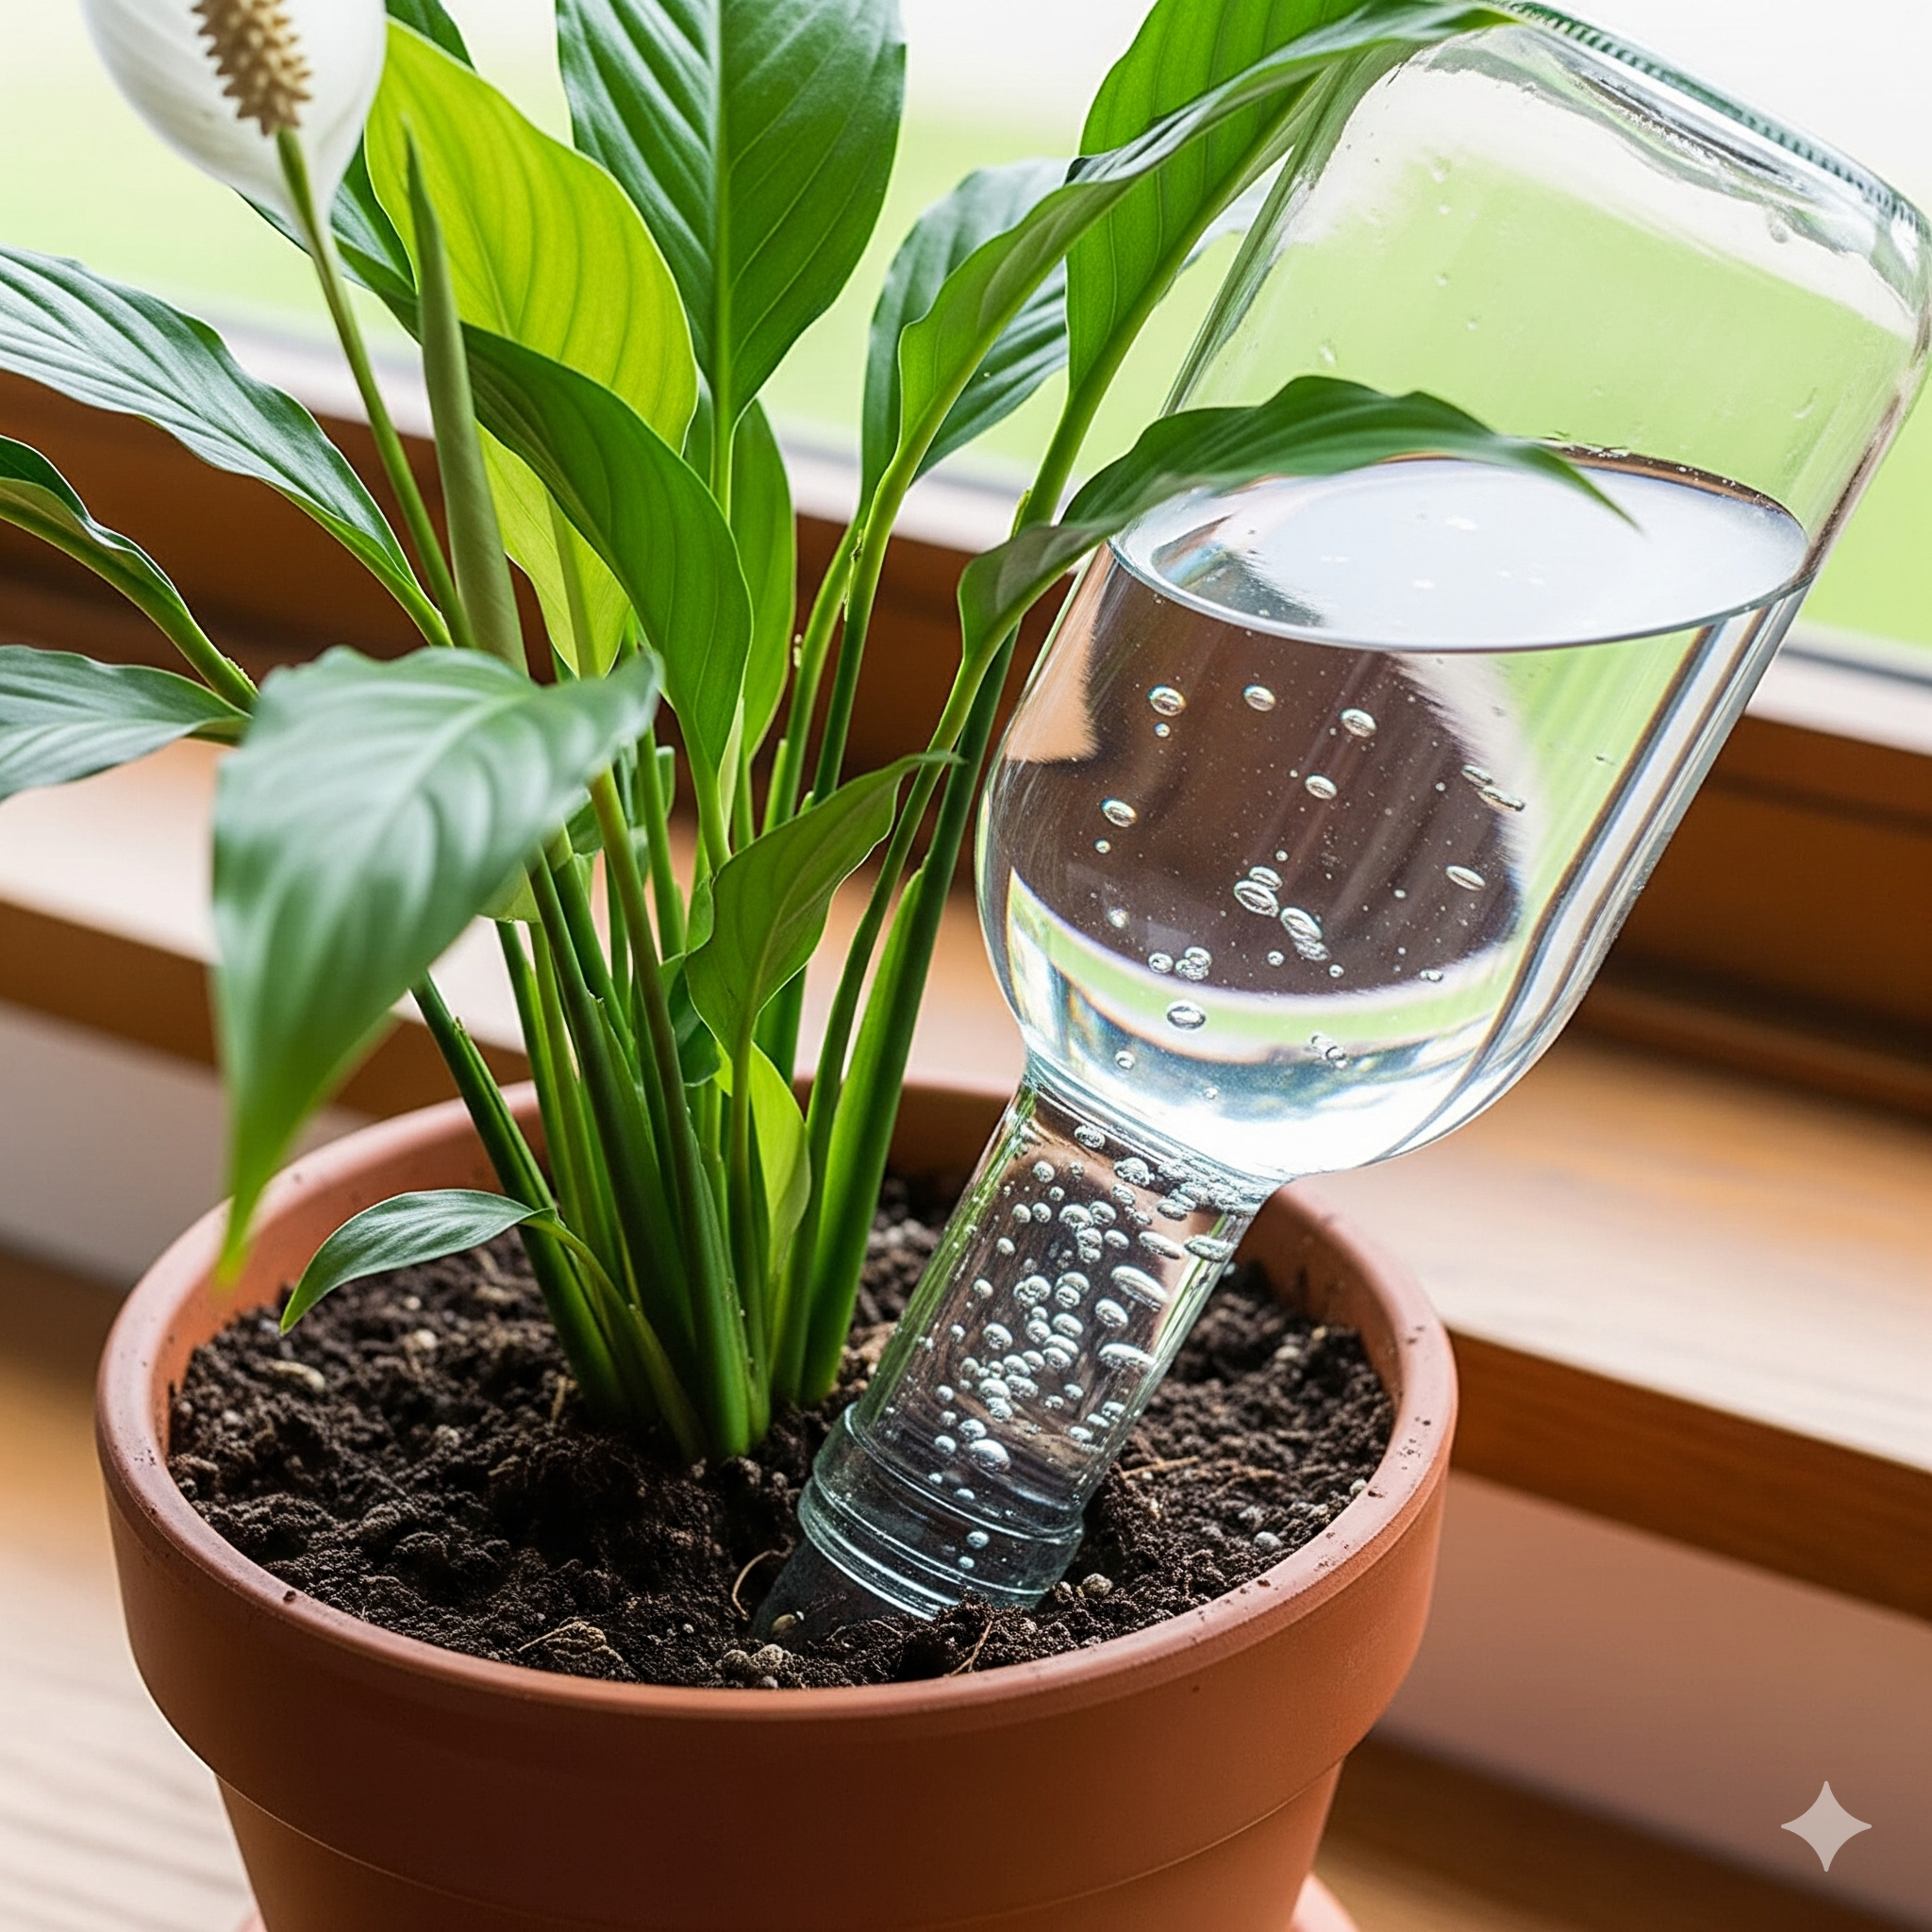
Level Up: Regrowing Vegetables That Need Soil
While many scraps can start in water, some prefer to be planted directly in soil to give you a different kind of harvest. These projects are just as easy but require a small pot and some good quality potting mix. They are a great next step after you’ve mastered water propagation.
From a Single Clove: Growing Garlic Greens
Have you ever had a head of garlic start to sprout little green shoots? Don’t throw it out! You can plant it. While you won’t grow a new head of garlic indoors, you can grow delicious garlic greens. These look like chives but have a mild, garlicky flavor that is fantastic in eggs, soups, and salads. Simply take a sprouting clove and plant it, pointy-end-up, in a small pot of soil, burying it about an inch deep. Keep the soil moist and in a sunny spot. Within a week or two, the green shoot will grow tall. You can harvest the greens by snipping them with scissors, and they will continue to grow back. For more detailed guides on different propagation methods, I often consult university extension websites, as they provide science-backed information like this guide from the University of Maryland.
The Never-Ending Onion
This works similarly to green onions but on a larger scale. The next time you use a yellow or red onion, save the root end. Cut off about an inch of the bottom of the onion, making sure the root plate is intact. Let it dry on your counter for a day or two to callus over, which helps prevent rot. Then, plant this root-end directly in a pot of soil, burying it about two inches deep. Keep it watered, and it will send up new green shoots, very similar to garlic greens. This is a fantastic way to get more value out of every single onion you buy. For more zero-waste inspiration, blogs like Zero Waste Chef are a fantastic resource.
Regrowing scraps is a simple, joyful act of resourcefulness. It’s a small step that can have a big impact on your wallet, your plate, and your perspective on waste. I encourage you to try starting with a simple jar of green onions—I promise you’ll be hooked!
Frequently Asked Questions (FAQ)
Why are my scraps in water getting slimy and smelly?
This is the most common problem, and it’s almost always caused by not changing the water frequently enough. Stagnant water allows bacteria to grow, which causes the rot and the smell. You must change the water every one to two days to keep it fresh and oxygenated. Also, make sure only the root part of the scrap is submerged, not the entire cutting.
Can I regrow any vegetable?
No, not all vegetables will regrow from scraps. This method, called vegetative propagation, only works for certain types of plants. Root vegetables (like carrots and beets), leafy greens that grow from a central base (like celery and lettuce), and alliums (like onions and leeks) are the best candidates. You cannot regrow something like a cucumber or a bell pepper from a piece of the fruit itself (though you can save and plant their seeds, which is a different type of gardening!). For a definitive list, a trusted source like Good Housekeeping has great visual guides.
How many times can I regrow my green onions?
You can usually get about three or four good harvests from one set of green onion bases grown in water. Each time they regrow, they are using up the stored energy in the small white bulb. You’ll notice that the shoots become thinner and less flavorful with each regrowth. To get a truly continuous harvest, the best method is to plant the rooted bases in a pot of soil after the first or second regrowth. With the nutrients from the soil, they will continue to produce for a very long time.
Post Comment